#CASBAN6: How to set up a local Microsoft SQL database on macOS

Microsoft’s SQL Server cannot be installed directly on macOS, like on Windows machines. Luckily, there is a not so complicated solution using a Docker container – provided by Microsoft themselves.
Install Docker
Obviously, the first step is to download Docker and install it on your Mac. Just head over to the Docker website and download the appropriate version. Install the app by opening the disk image and follow the instructions.
Install SQL Server
After installing the Docker desktop client, head over to the docker hub of Microsoft’s SQL Server. You can choose between SQL Server 2017, 2019 and 2022, with the latter one being preview (as of publishing time of this post). To download the image, we need to open a terminal and download it with the pull command:
1
 sudo docker pull mcr.microsoft.com/mssql/server:2019-latest
I am selecting 2019 here as it is closest to what Azure SQL databases uses as of publishing time of this post.
Create a server instance
Microsoft makes it quite easy to create a server instance, we just need to copy the appropriate run command from the docker hub website. I am using SQL Server Express for my testing purposes:
1
  docker run -e 'ACCEPT_EULA=Y' -e 'SA_PASSWORD=thisShouldB3Stronger!' -e 'MSSQL_PID=Express' -p 1433:1433 --name mssql  -d mcr.microsoft.com/mssql/server:2019-latest
Once you run this command without any error, type in docker ps to verify the image is up and running. If all goes well, you should see something like this:

Create a database
Now that we have a running server instance, we can finally create a database for our purposes. We are using this terminal command to achieve our goal:
1
 docker exec -i mssql /opt/mssql-tools/bin/sqlcmd -S localhost -U SA -P 'thisShouldB3Stronger!' -Q 'CREATE DATABASE localDB'
We are logging into our server with this and send the command to create our database. Alternatively, we could already connect using DBeaver(link below) to create the Database. In both cases, we have our local database up and running by now.
Connect
There are several ways to connect to this database. The one we are going to use with Entity Framework Core is the good old connection string:
1
2
3
//template: Data Source=localhost;Initial Catalog=<database>;User ID=sa;Password=<password>

Data Source=localhost;Initial Catalog=localDB;User ID=sa;Password=thisShouldB3Stronger!
If you want to access your database with a GUI, I recommend using either Visual Studio Code with the Azure and SQL workload installed or the Community Edition of DBeaver.
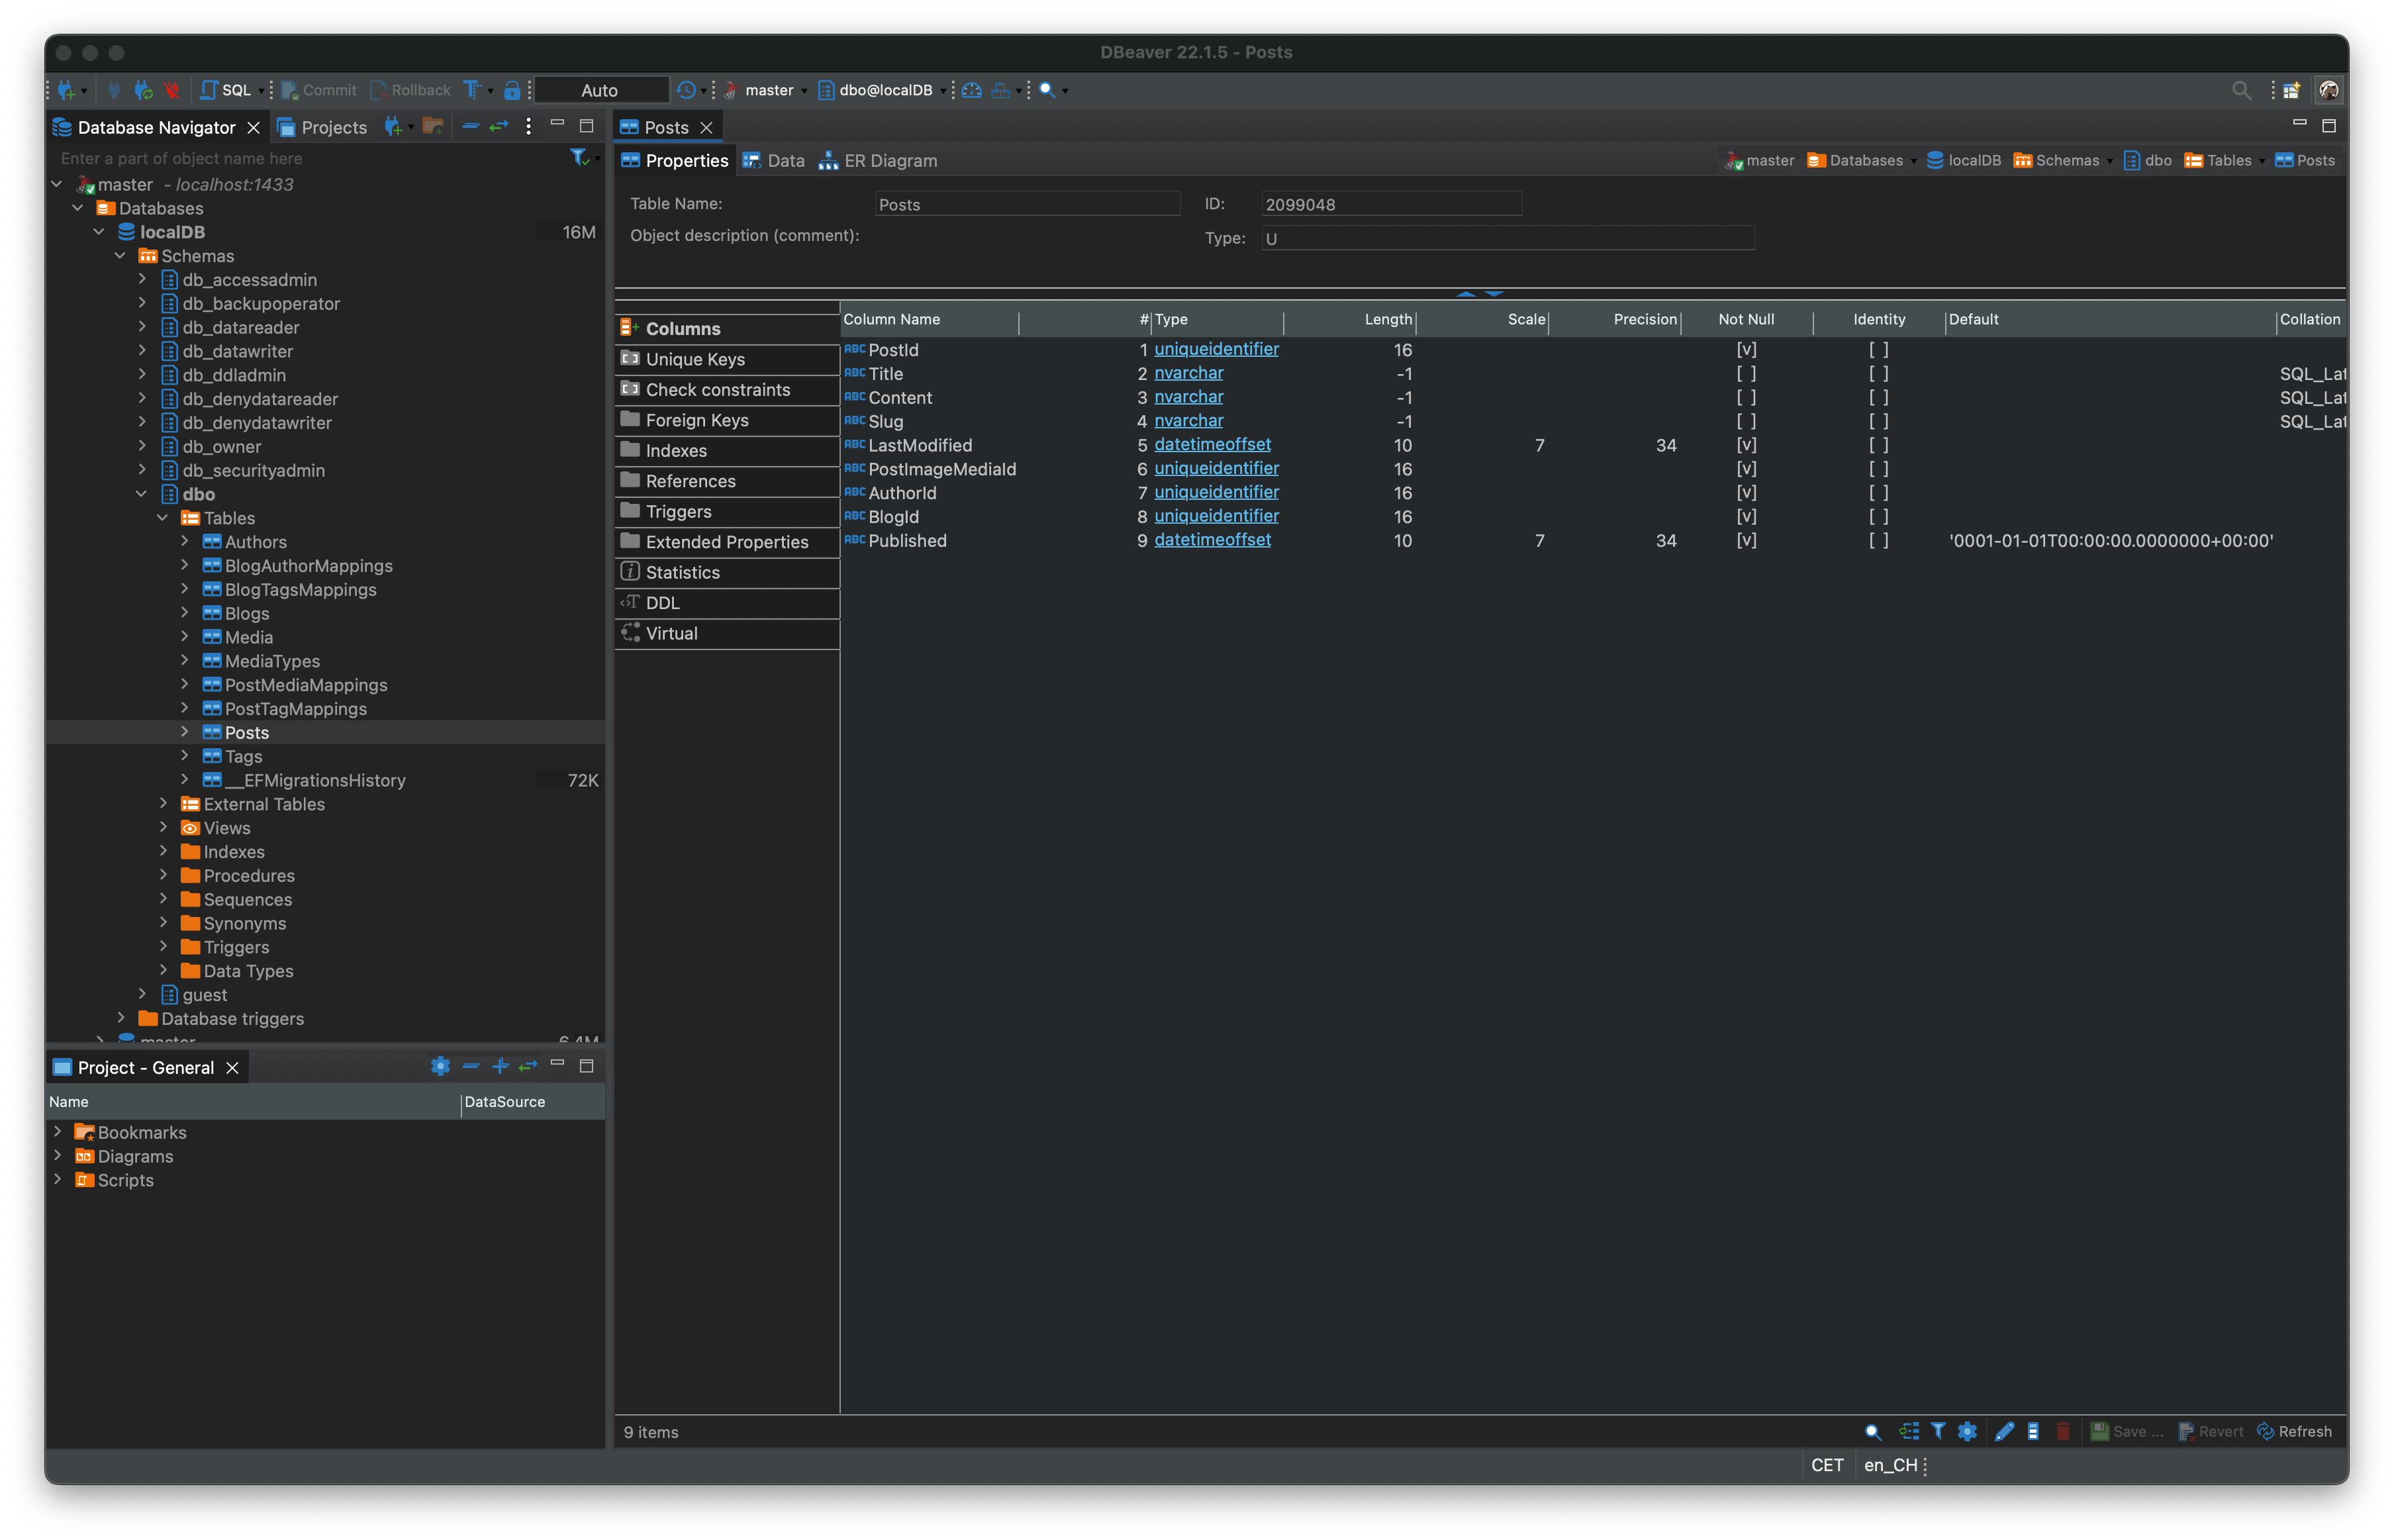
Visual Studio allows connecting on a database level, while DBeaver can be used to connect at server level as well. Both of them also support access to Azure SQL databases, which will be helpful later on.
Conclusion
Microsoft’s SQL Server is not available for macOS. Nonetheless, we are able to quickly set up a Docker container that runs MS SQL and set up a local database for testing. I wrote this post for completeness of the series.
Useful links
- https://docs.microsoft.com/en-us/sql/linux/quickstart-install-connect-docker?view=sql-server-2017&pivots=cs1-bash
- https://hub.docker.com/_/microsoft-mssql-server?tab=description
- https://docs.microsoft.com/en-us/azure/azure-sql/database/connect-query-vscode?view=azuresql
- https://dbeaver.io/download/
- https://www.marcusturewicz.com/blog/develop-against-sql-server-on-a-mac-with-docker-and-vs-code/