Dev Story Series (Part 5 of many): Styling a WebView or WebBrowser element
This post is about styling our WebView or WebBrowser in our app. Until now, we only got the HTML string that we are displaying in our WebView or WebBrowser. It looks like this:
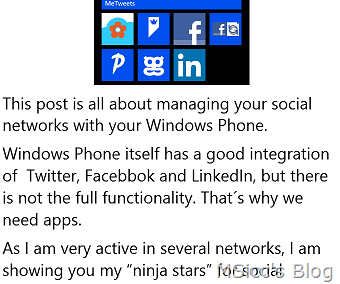
The content we receive from our WordPress post content includes already all kind of HTML tags like paragraphs, lists, links, images. That is the advantage for this solution: no parsing is needed, the string can be displayed as is. Both the WebView and the WebBrowser framework element (no, they are not controls) are able to read and render CSS code. And this is how we can match the whole element for our app.
HTML Pages can be styled by using a so called cascading style sheet (CSS), which is similar to XAML code. With a little bit of searching on the web you will be able to style “translate” your XAML properties into CSS.
Here is a sample CSS String:
1
2
3
4
5
6
7
8
9
10
11
12
13
<STYLE type="text/css">
body{background:#034786; width:450px; }
p{font-family:'Segoe UI';color: white;font-size:medium;}
h1{font-family:'Segoe UI';color: white;}
h2{font-family:'Segoe UI';color: white;}
h3{font-family:'Segoe UI';color: white;}
h4{font-family:'Segoe UI';color: white;}
pre{background-color: #C0C0C0; width:100%;}
blockquote{font-family:'Segoe UI';font-style:italic;}
a:link{font-family: 'Segoe UI';color: #C0C0C0; font-size: medium; text-decoration:underline}
li{font-family: 'Segoe UI';color: white;font-size: medium;list-style-type: square;}
img {text-align:center; width:100%: height:100%;}
</STYLE>";
Every CSS string has to be surrounded with “<STYLE type=”text/css”> </STYLE> “. Between those two Style tags, you can set different properties for each kind of HMTL tag:
- body = the whole page is embedded in the body. this is where we set the background of our content as well as the width and the height
- p = paragraphs. paragraphs can contain text as well as images or other multimedia content. Mainly used for text like in our blog post, we style how the user is able to read our blog post.
- h1 – h4 = different kinds of headers. you can define four styles of headers
- pre = is for lines of code
- blockquote = if we quote people or other sites, we use quotes to clarify this aren’t our words. should be styled a bit differently than the rest of our blog (e.g. Italic)
- a:link = how hyperlinks will be styled
- li = this is how our list will be styled in this view
- img = how we want to see our pictures in our post
Hint for using CSS in code behind:
If you just C&P the CSS string from above, it will result in some errors from Visual Studio. Visual Studio does not like the new lines in strings, so you have to add it as one line. Also is it not possible to use ‘”‘ within a string declaration. It has to be “escaped”, which we are doing with a simple before it: ‘”‘. I mentioned it because I learned it the very hard way by trying to solve it for 2 hours.
Only thing we now need to do is pass the CSS String together with our HTML string from our JSON to our WebView or WebBrowser element:
1
WebBrowser.NavigateToString(CSSString + ContentString);
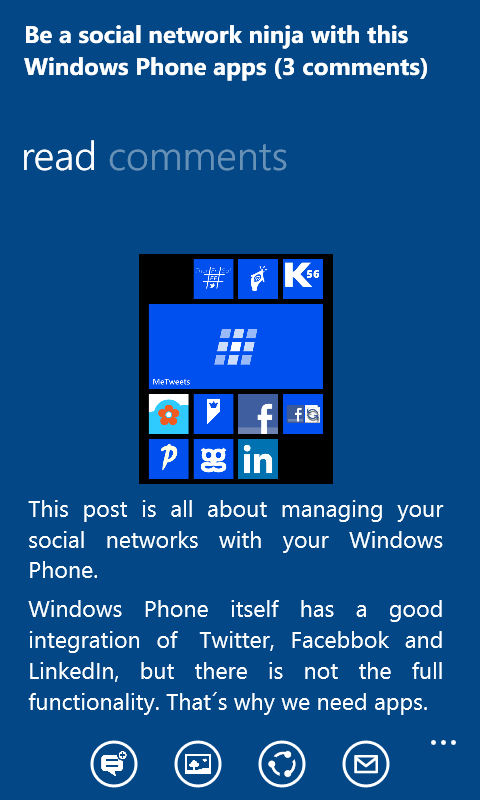
After navigating to this both strings, our content is now displayed like native:
One last tip:
I recommend to set the Visibility of your WebBrowser or WebView to “Collapsed” until the whole rendering has done. Once the “navigation” has finished, set it via code to visible. This way the user does not recognize that we are rendering the post content for him. Just display a loading animation until that is done. Both elements have a “LoadCompleted” event. Once the rendering (= the navigation to our string) is done, the content of our blog post is shown as it would be natively in our app.
As always, I hope this is helpful for some of you and feel free to leave a comment below.