Automating Apple Builds: A Practical Guide to GitHub Secrets

Yesterday, I was listening to Merge Conflict Episode 454: Let’s ship some .NET iOS & Android apps! CI/CD Deep Dive, where James and Frank discussed setting up CI/CD pipelines for .NET iOS and Android apps. Frank’s comments reminded me that I already have a GitHub Organization and that I could optimize my workflow by centralizing secrets instead of managing them separately in each repository. This led me to revisit my setup and document the process for others looking to streamline their Apple CI/CD pipeline.
Organizing Secrets for Multiple Apps
When managing multiple apps, you should consider creating a GitHub Organization to centralize secrets. This will allow you to share credentials across repositories while maintaining security and consistency.
For a single repository:
Navigate to Settings → Secrets and variables → Actions in your GitHub repository.For an organization-wide setup:
Go to Organization Settings → Secrets and variables → Actions and define your secrets there.
Please note that repository secrets will override organization secrets if they are named equally. GitHub will inform you if that happens, but only in the settings page.
Configuring the keys for the App Store Connect API
To authenticate with the App Store for tasks like uploading builds and managing TestFlight releases, we are going to need an App Store Connect API Key.
- Visit App Store Connect Integrations.
- Locate your Issuer ID and add it as a GitHub Secret:
- Secret name:
APPSTORE_ISSUER_ID
- Secret name:
- Find the Key ID of your API key and add it as a GitHub Secret:
- Secret name:
APPSTORE_KEY_ID
- Secret name:
- Retrieve your AuthKey_KeyId.p8 file. If you didn’t download it during creation, you’ll need to generate a new key.
- Open the
.p8file in a text editor and copy its contents. - Create a new GitHub Secret:
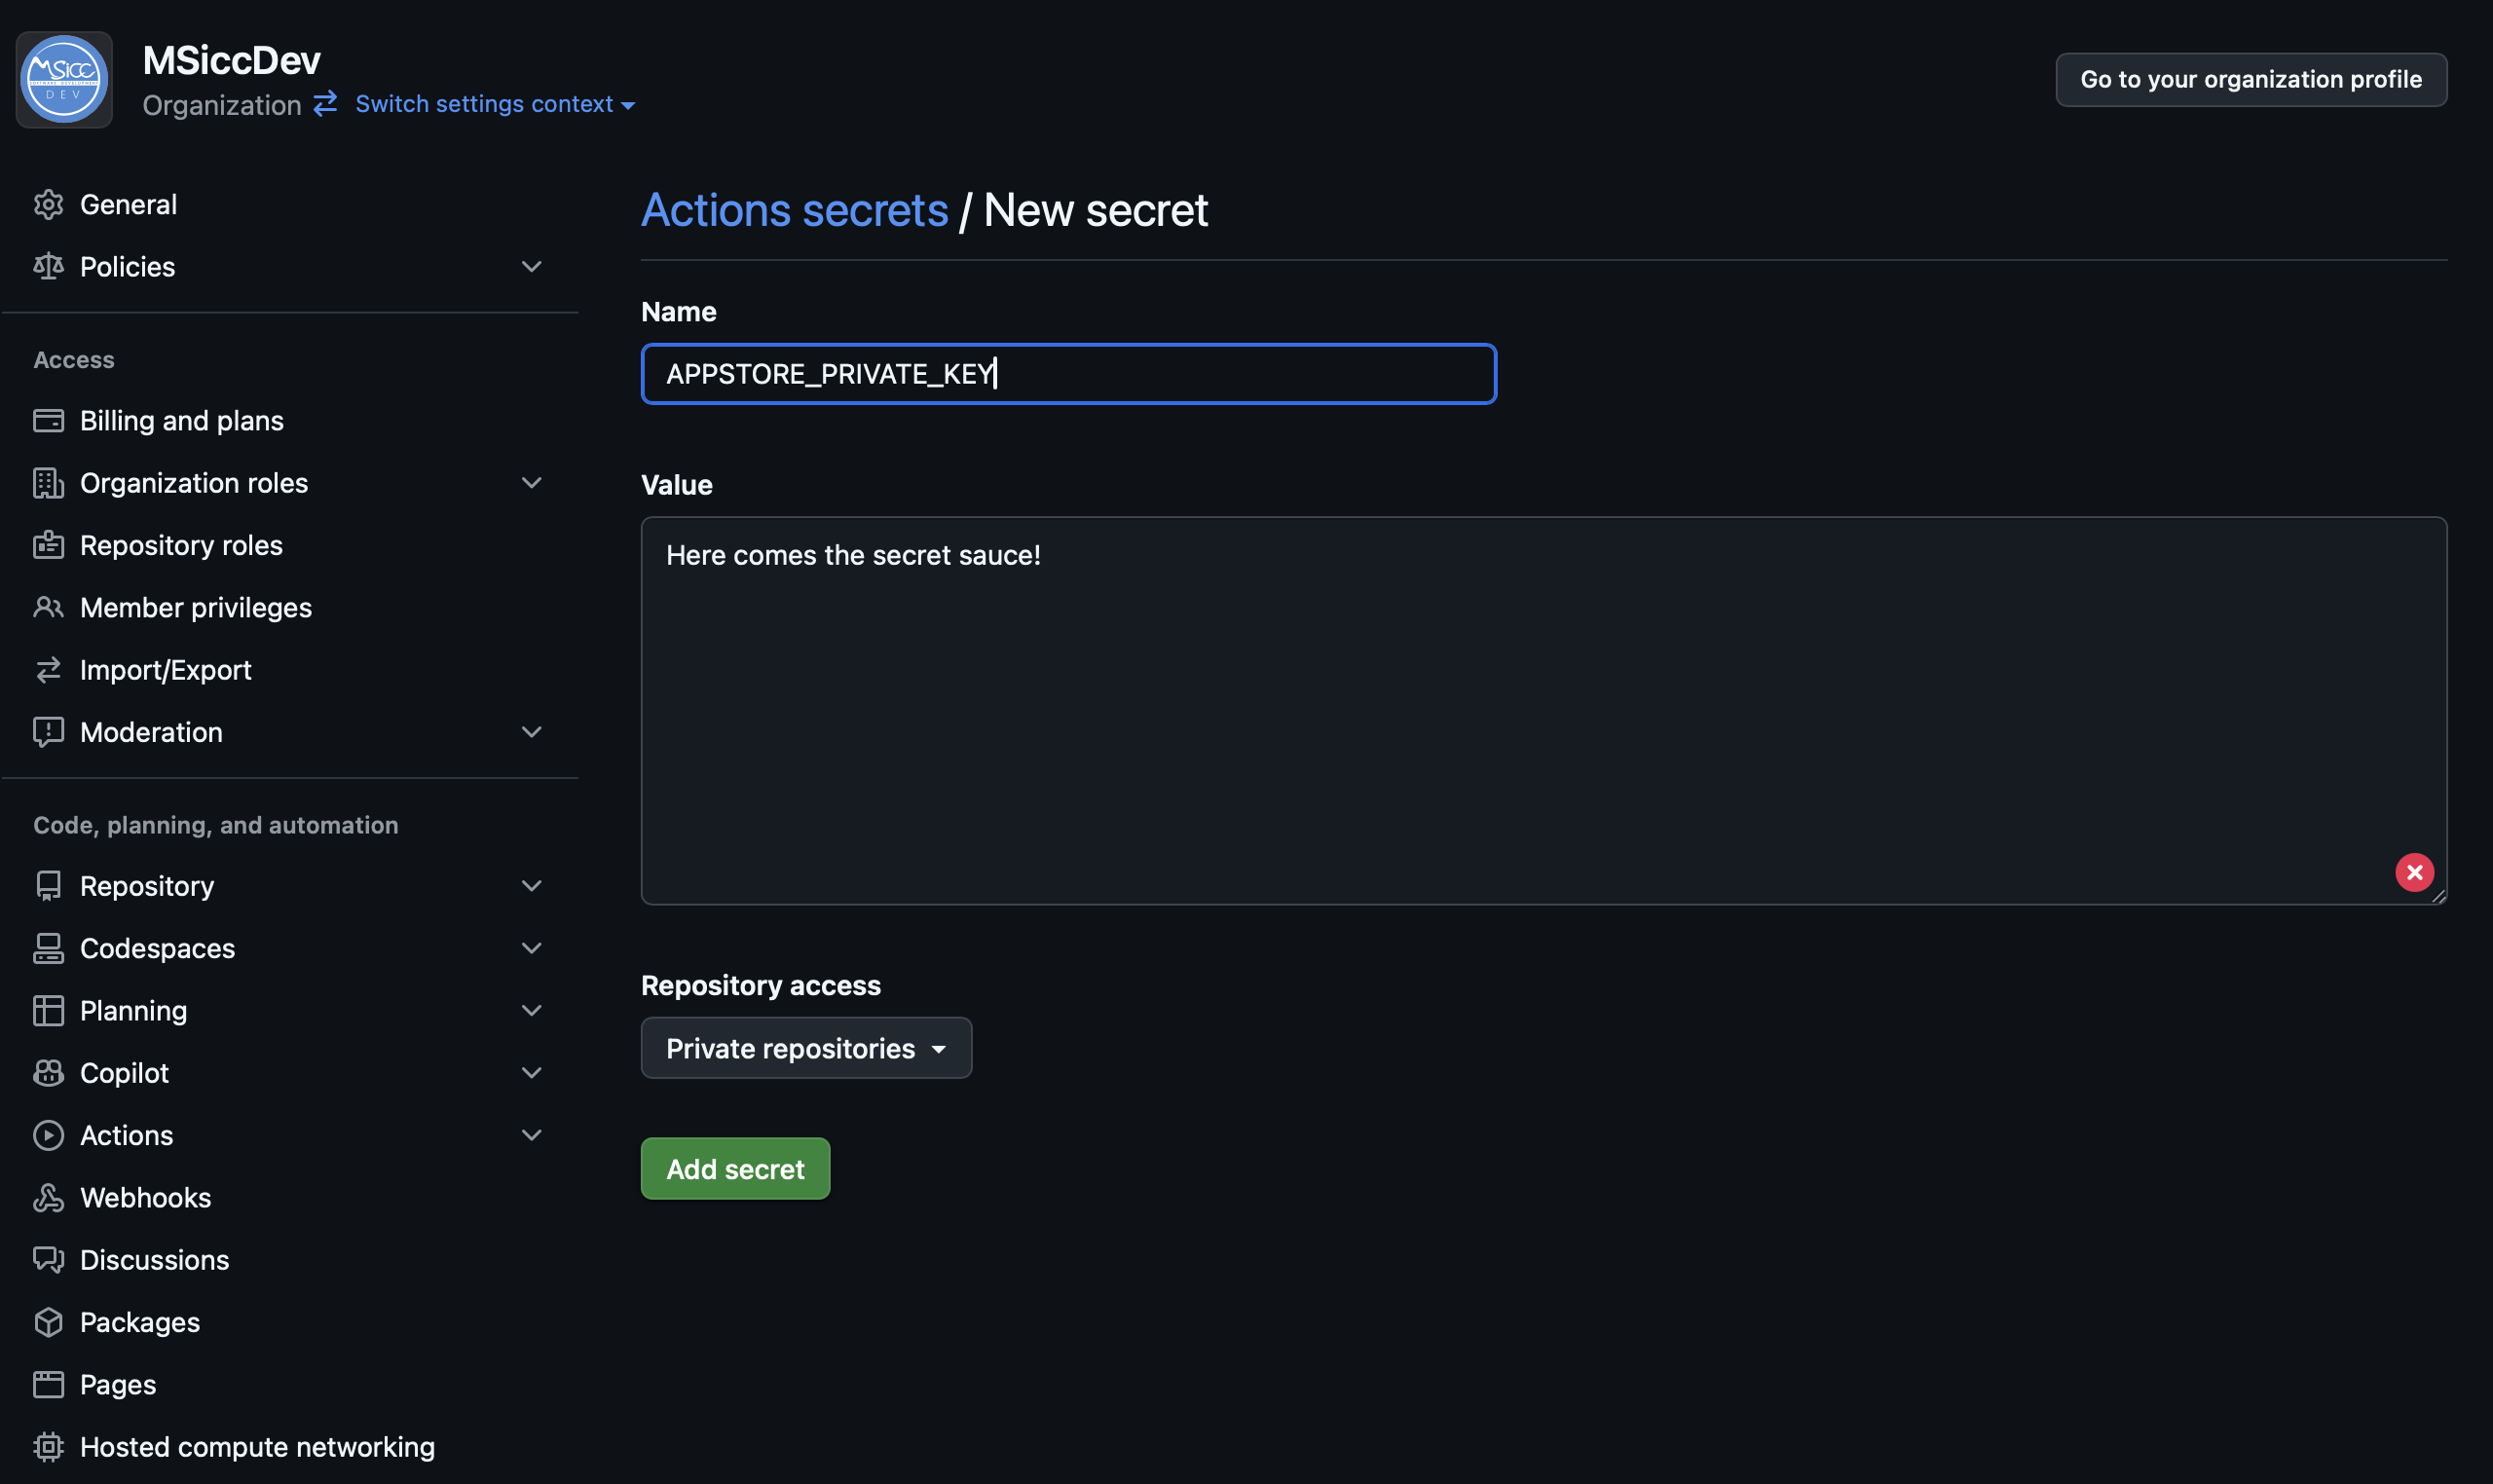
- Secret name:
APPSTORE_PRIVATE_KEY
- Secret name:
- Encode the file in Base64 and store it as an additional secret:
1
cat AuthKey_KeyId.p8 | base64 | pbcopy
- Secret name:
APPSTORE_PRIVATE_KEY_BASE64
- Secret name:
- Open the
By now, we should have the following four secrets added:
APPSTORE_ISSUER_IDAPPSTORE_KEY_IDAPPSTORE_PRIVATE_KEYAPPSTORE_PRIVATE_KEY_BASE64
Adding the Distribution Certificate
To sign our iOS builds, we also need a Distribution Certificate stored as a .p12 file.
- Check if you already have the
.p12file for your current Distribution Profile.- If you do, proceed with the steps below.
- If not, export a new
.p12file from the Keychain Access app on your Mac:- Open the Keychain Access app.
- Locate your Distribution Certificate.
- Right-click and select Export [your certificate name].
- Set a password and save the exported
.p12file.
- Store the
.p12file securely in GitHub Secrets:
Encode the file in Base64 and add it as the content of the secret:1
cat yourfile.p12 | base64 | pbcopy
- Secret name:
DISTRIBUTION_CERT_P12
- Secret name:
- Create a new secret and store the password you used during the exportation of the .p12 file
- Secret name:
DISTRIBUTION_CERT_P12_PW
- Secret name:
Now, we should have two additional secrets:
DISTRIBUTION_CERT_P12DISTRIBUTION_CERT_P12_PW
Conclusion
With these secrets in place, our GitHub Actions workflow will be able to securely authenticate with the App Store and sign our iOS builds without manually handling credentials. We’re now ready to integrate these secrets into our corresponding GitHub Action and automate our Apple deployment pipeline!
By properly setting up GitHub Secrets, we enhanced the security of your CI/CD process while ensuring a smooth deployment experience. Stay tuned for a future post, where we’ll configure a complete GitHub Actions workflow for automated iOS builds including repositories our main app depends upon.
Until the next post, happy coding, everyone!
Disclaimer: This blog post was originally based on my rough notes, which were refined and structured with the help of AI to enhance readability and clarity. I then went through the whole post again making sure everything is correct and updated it where necessary. Additionally, the title image for this post was generated using AI.