#CASBAN6: Implementing the data model using EntityFramework Core (separate libraries)
EntityModel library
When I started the project, I started with creating the classes for all the tables that I need for my blog engine. I have put them into their own library to keep things clean.
The classes also use ICollection references for relationships whenever required. Let’s have a look at the Blog class:
1
2
3
4
5
6
7
8
9
10
11
12
13
14
15
16
17
18
19
 public class Blog
{
    public Guid BlogId { get; set; }

    public string Name { get; set; }

    public string Slogan { get; set; }

    public Uri LogoUrl { get; set; }

    public ICollection<Post> Posts { get; set; }

    public ICollection<Author> Authors { get; set; }

    public ICollection<Tag> Tags { get; set; }

    public ICollection<Medium> Media { get; set; }

}
The other classes are implemented similarly to reflect the data model I showed you in my last post. You can have a look at the other class implementations in the GitHub repo (folder: EntityModel).
EFCore library
The EFCore library has three main components:
- BlogContext
- Configurations
- Seed extension
BlogContext
The BlogContext is straight forward and follows the pattern described here in the documentation for using a factory (spoiler: we will do that later):
1
2
3
4
5
6
7
8
9
10
11
12
13
14
 public sealed class BlogContext : DbContext
{
    public BlogContext(DbContextOptions<BlogContext> options) : base(options)
    {

    }

    public DbSet<Blog> Blogs { get; set; }
    public DbSet<Post> Posts { get; set; }
    public DbSet<Author> Authors { get; set; }
    public DbSet<MSiccDev.ServerlessBlog.EntityModel.Medium> Media { get; set; }
    public DbSet<MediumType> MediaTypes { get; set; }
    public DbSet<Tag> Tags { get; set; }
}
The class is declaring a constructor that uses the DBContextOptions<DBContext> parameter that allows our factory to configure the context later on for the migrations. Of course, we need references to all the possible DbSets as well to be able to access them via the BlogContext instance.
Configurations
In Entity Framework, we can configure our tables with configurations. By implementing the IEntityTypeConfiguration interface for all of our models in a separate file for each, we are continuing to keep our code clean and easily maintainable. Here is how the implementation for the Blog table:
1
2
3
4
5
6
7
8
9
10
11
12
13
14
15
16
17
18
19
20
21
22
23
24
25
 public class BlogConfiguration : IEntityTypeConfiguration<Blog>
{
    public void Configure(EntityTypeBuilder<Blog> builder)
    {
        builder.Property(nameof(Blog.BlogId)).
            IsRequired();

        builder.Property(nameof(Blog.BlogId)).
            ValueGeneratedOnAdd();

        builder.HasKey(blog => blog.BlogId).
            HasName($"PK_{nameof(Blog.BlogId)}");

        builder.Property(nameof(Blog.Name)).
            HasMaxLength(255).
            IsRequired();

        builder.Property(nameof(Blog.Slogan)).
            HasMaxLength(255).
            IsRequired();

        builder.Property(nameof(Blog.LogoUrl)).
            IsRequired();
    }
}
Most of the fluent implementations above are self-explaining. The other classes of the project are implemented in a similar way, you can find them here in the Github repository.
I implemented my configurations by following the docs, which I absolutely recommend reading:
To apply the configurations, we need to override the OnModelCreating method:
1
2
3
4
5
6
7
8
9
 protected override void OnModelCreating(ModelBuilder modelBuilder)
{
    modelBuilder.ApplyConfiguration(new BlogConfiguration());
    modelBuilder.ApplyConfiguration(new MediumypeConfiguration());
    modelBuilder.ApplyConfiguration(new MediumConfiguration());
    modelBuilder.ApplyConfiguration(new AuthorConfiguration());
    modelBuilder.ApplyConfiguration(new TagConfiguration());
    modelBuilder.ApplyConfiguration(new PostConfiguration());
}
Seed extension
To verify our configurations are working, we need some test data. This is where the seeding feature of EF Core comes in handy, and it helped me to improve my data model a lot. I am using the extension method approach here to implement a blog with three test posts, including all relations, constraints, and property configurations. You can find the full implementation here in the Github repository.
Besides the docs on EF Core data seeding, these links helped me to understand and write my seed implementation:
With this extension method in place, applying the seed is just one line of code at the end of the OnModelCreating override away:
1
 modelBuilder.Seed();
Now we have everything together, we finally can turn to actually migrate our code to database.
EFCore.DesignDummy library
Because I am running this whole thing on a Mac, I need to use the CLI tools for all migrations. To keep also this step in its own library, I created a DesignDummy library which I use for pushing the migrations to my local database.
The library requires a reference to the EFCore library as well as to the EntityModel library. On top of that, we need the <a href="https://www.nuget.org/packages/Microsoft.EntityFrameworkCore.Design" rel="noreferrer noopener" target="_blank">Microsoft.EntityFrameworkCore.Design</a> NuGet package.
Now that our dependencies are in place, we just need to create an implementation of the IDesignTimeDbContextFactory interface as described here in the docs:
1
2
3
4
5
6
7
8
9
10
11
12
13
14
15
16
17
 public class BlogContextFactory : IDesignTimeDbContextFactory<BlogContext>
{
    public BlogContext CreateDbContext(string[] args)
    {
        BlogContext? instance = null;

        var optionsBuilder = new DbContextOptionsBuilder<BlogContext>();

        optionsBuilder.UseSqlServer(dbContextBuilder =>
            dbContextBuilder.MigrationsAssembly("EFCore.DesignDummy")).
            EnableSensitiveDataLogging();

        instance = new BlogContext(optionsBuilder.Options);

        return instance;
    }
}
Now let’s create our first migration and push it to the database (find the docs here). In your terminal window, change to the folder of your dummy project. Once you’re in the correct folder, create a new migration with the add command:
1
 dotnet ef migrations add {MigrationName}
To push the migration you just created to the database, use the update command with the connection parameter:
1
 dotnet ef database update --connection 'Data Source=localhost;Initial Catalog=localDB;User ID=sa;Password=thisShouldB3Stronger!'
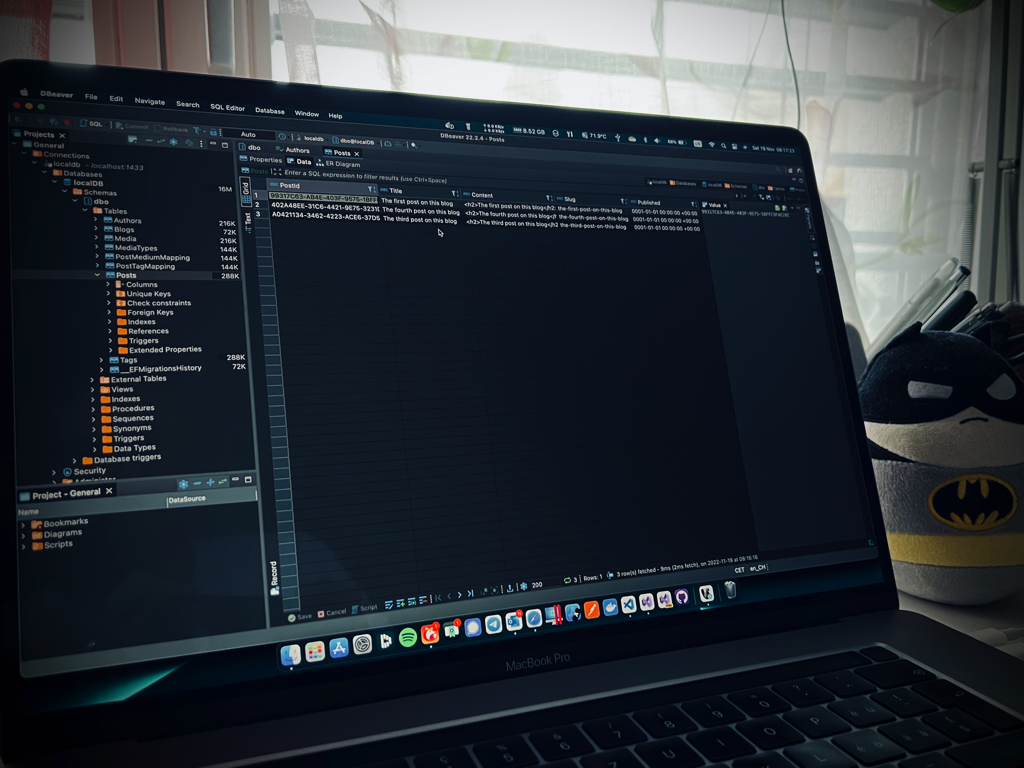
If all goes well, you should now be able to view your database with the seeded data:
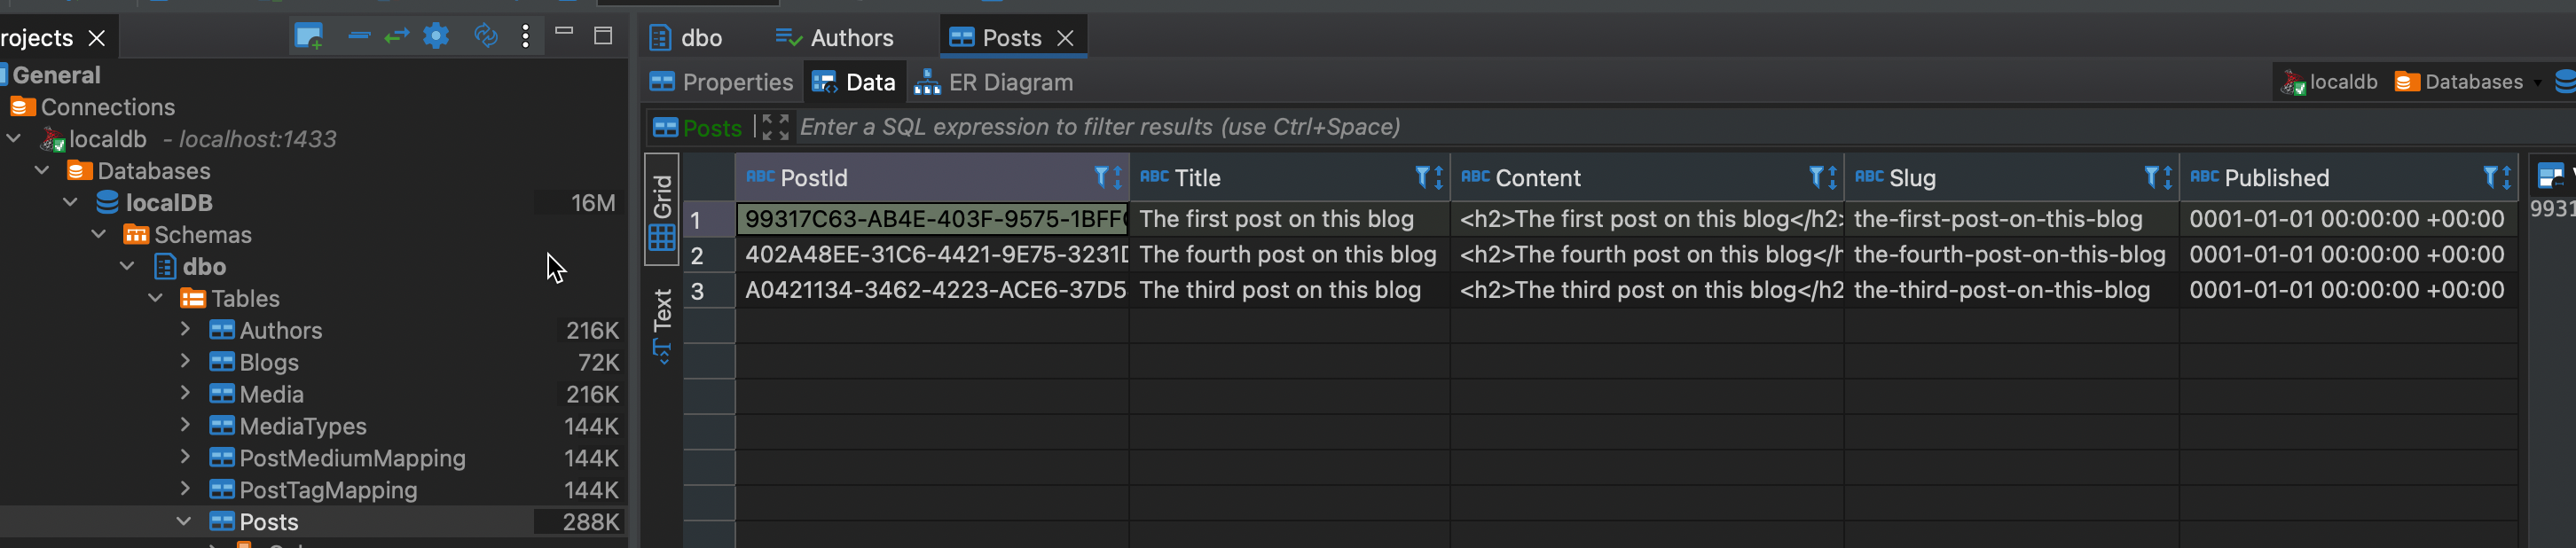
Conclusion
In this post, I showed you how to create the model for the database and their matching IEntityTypeConfiguration implementations. We learned how to create a IDesignTimeDbContextFactory and how to add migrations and push them to the database. The full code is on GitHub for your further exploration.
As always, I hope this post is helpful for some of you.