How to use the .NET CLI clean-up tools on macOS
Earlier this week, the .NET SDK and Runtimes received some updates. Together with that, also Visual Studio for Mac was updated. Once I got past the installation of all updates, both Visual Studio and Rider were no longer restoring the required NuGet packages for my .NET MAUI project running on .NET 6.
I eventually fixed that issue by cleaning up all the .NET SDKs, Runtimes, workloads and NuGet caches on my MacBook Pro. Read on to learn about the tools I used.
.NET uninstall tool
I have been using the .NET uninstall tool in the past. Unlike on Windows, you have to download the executable from GitHub in its zipped form.
While the releases page shows some terminal commands to unpack and run the tool, they never worked for me as stated there. While I was able to make the new directory with the mkdir command, the unpacking always shows an error. So I opened up Finder and unzipped it manually with the Archive Utility app that ships with macOS.
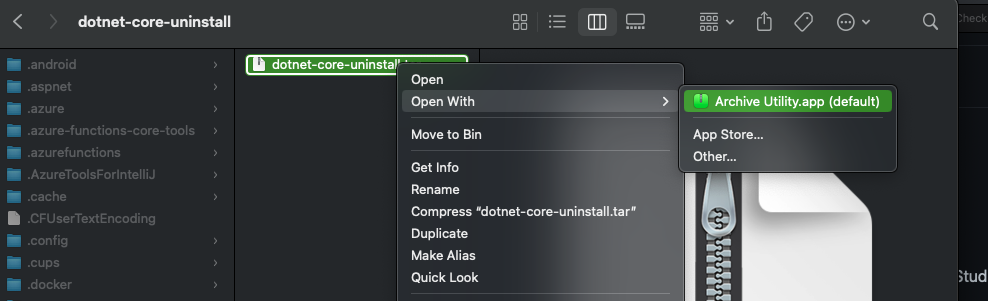 After switching to the folder in Terminal, the tool is supposed to show the help. Instead, I got an error showing me that I am not allowed to run this app for security reasons. The OS blocks the execution. If the same happens for you, right click on the extracted executable and select “Open With” followed by “Terminal.app (default)“. This will prompt you with this screen:
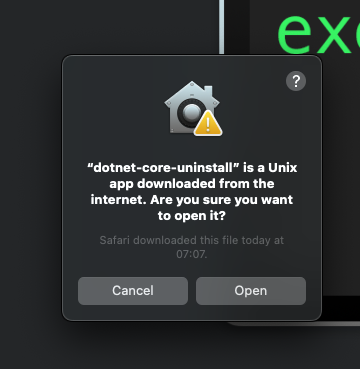 Once you click on “Open“, a new Terminal window appears. Close this window, it is unusable as we are already in the exited state. Instead, open a new Terminal and change to the installation folder and call the help command:
1
2
 cd ~/dotnet-core-uninstall
./dotnet-core-uninstall -h
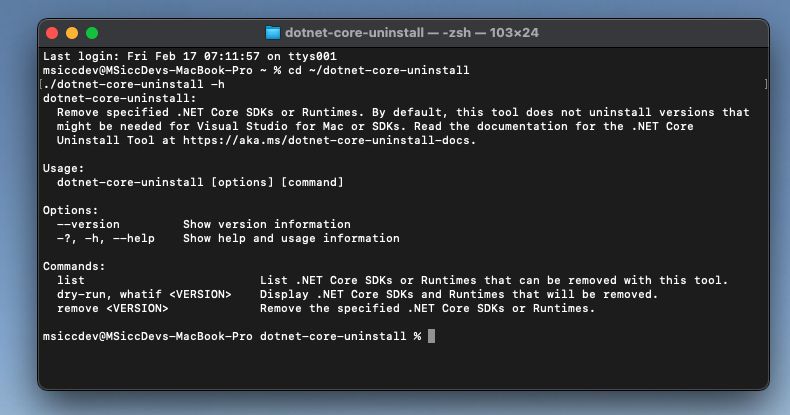 Now that we are able to run the tool, let’s have a look what we have installed by running the
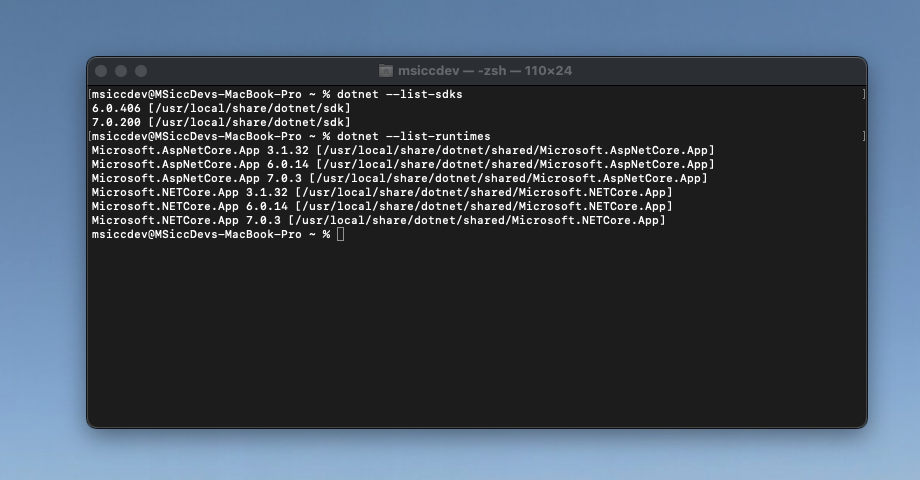
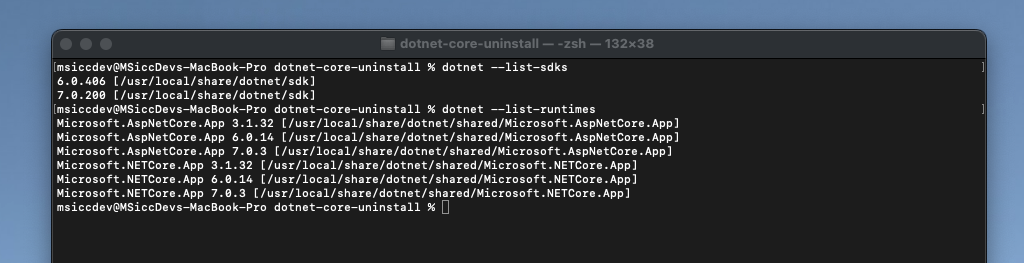
 dotnet --list command. We need to call the command twice, once for the installed -sdks and once for the installed -runtimes:
1
2
 dotnet --list-sdks
dotnet --list-runtimes
You may be as surprised (I was, at least) how many versions you are accumulating over time. They never get removed by newer versions (it’s by design, according to Microsoft). To get rid of all versions except the latest, run the following commands with the uninstall tool (again once for — sdk, once for –runtime):
1
2
 sudo ./dotnet-core-uninstall remove --all-but-latest --sdk
sudo ./dotnet-core-uninstall remove --all-but-latest --runtime
After uninstalling all previous versions, you may have to reinstall the latest .NET 6 SDK again. You could also use the –-all-but [Versions] command to specify the versions explicitly. No matter which way you’re going, if you run the dotnet --list commands again, you should see something similar to this:
 Download: https://github.com/dotnet/cli-lab/releases
Documentation: https://learn.microsoft.com/en-us/dotnet/core/additional-tools/uninstall-tool?tabs=macos#step-3—uninstall-net-sdks-and-runtimes
dotnet workload command
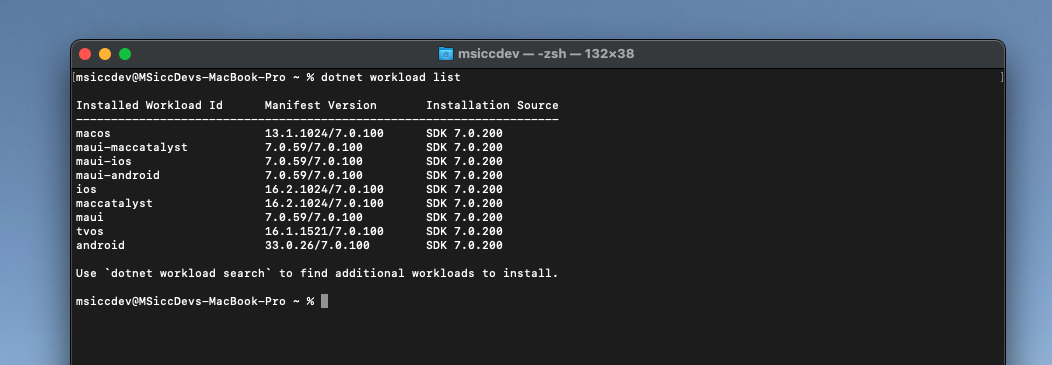
As I had problems getting the required NuGet packages for my MAUI app, I decided to uninstall all .NET MAUI workloads as well. First, I had a look what is installed with the list command:
1
 dotnet workload list
 Once you have that list, you need to call the
 uninstall command for every single installed workload:
1
 sudo dotnet workload uninstall macos maui-maccatalyst maui-ios maui-android ios maccatalyst maui tvos android
Once they are uninstalled, I cleared the Terminal and installed them all again using the install command:
1
 sudo dotnet workload install macos maui-maccatalyst maui-ios maui-android ios maccatalyst maui tvos android
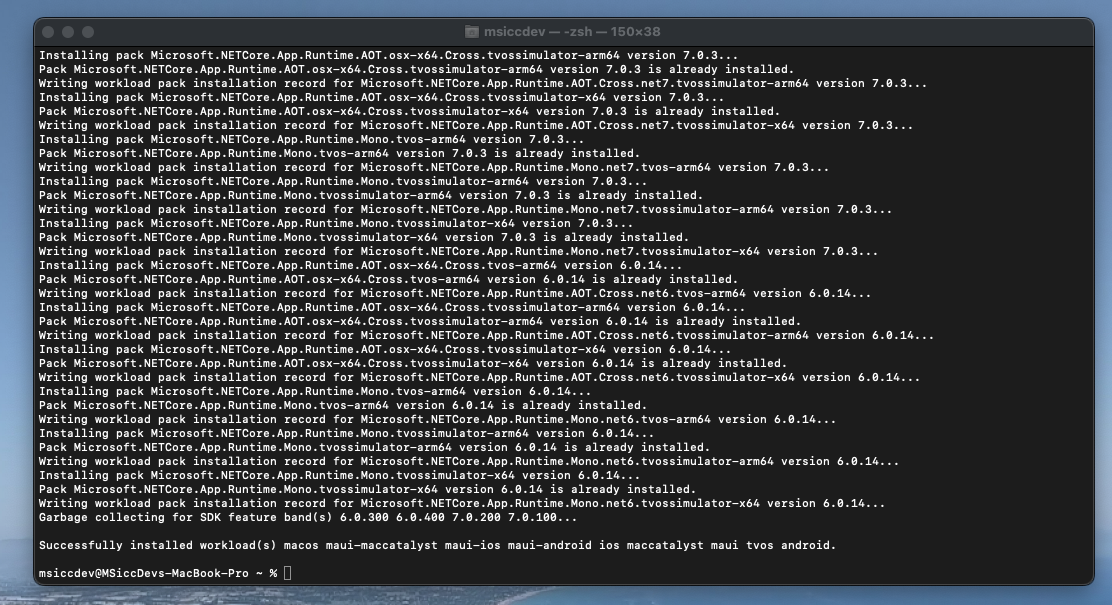 Now we have the latest .NET MAUI workload installed as well as the platform specific workloads as well.
Documentation: https://learn.microsoft.com/en-us/dotnet/core/tools/dotnet-workload
dotnet nuget locals
The final clean-up step involves all NuGet caches on your machine. Yes, you read that right, multiple caches. To see them all, run the following command:
1
 dotnet nuget locals all --list
This will get you something like this:
 Now let’s get rid of all those old NuGet packages:
1
 sudo dotnet nuget locals all --clear
If you’re lucky, you will see this message:
 My first attempt was not that successful. I needed to open the global packages’ folder in Finder and delete some remaining packages manually. Only after that, I was able to run the
 clear command with success.
Conclusion
Neither Visual Studio nor the .NET installer perform clean-up tasks on macOS. Until Microsoft changes their mind here, we will have to clean-up old packages manually to keep our system smoothly running. Luckily, there are at least CLI tools around to help us with that job. As always, I hope this blog post will be helpful for some of you.