How to create a RSS feed web tile with notifications for your Microsoft Band
This is a blog post not only for developers, but also for users (I will try to get not to technical in this post). I managed to buy a Microsoft Band 2 for me here in Europe two weeks ago, and of course I am still exploring all the functionality that it has. A web tile is one of the cool features it supports – with a web tile, you can add your digital footprint to the Microsoft Band. And the best thing: you don’t need to be a developer to create your own! Microsoft provides a web kit that creates the tile for you!
Let’s have a look at the (not so hard to understand) steps it takes to create your own web tile:
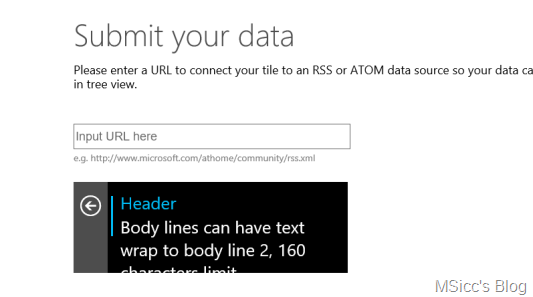
The First step is to choose the layout, which also describes the type of the web tile:
After selecting the feed tile template, you need to find the RSS url of your blog or other source site. Paste it in the desired field and hit the next button.
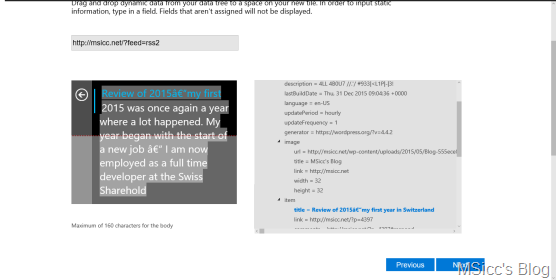
Microsoft’s site now reads your RSS feed and provides you the single fields that come with your feed. When you hover with your mouse over the fields, they’’ll get highlighted. Just drag and drop them into the Microsoft Band preview image on the left hand side.
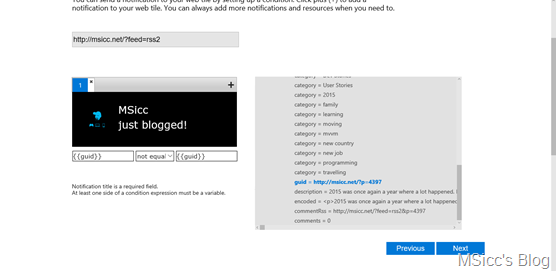
Now that you have selected the data that should appear on the Microsoft Band, let’s set up the notification for the web tile. This is where it gets a bit tricky, but most feeds should be covered by the following image:
No worries, I am telling you what is done here. The first and second line is the title and the description of the notification. You can put in there whatever you like. The most important part is the condition expression below the Band preview. Sadly the documentation provided by Microsoft is not as detailed for feed tiles as it should. Luckily, I found a post at StackOverflow that explains a little bit more. If you’re a developer, feel free to read the full text. If you are a user: just drag and drop the guid field of the “item” section into the first and also into the last field and set the condition to not equal. If your feed gets a new item, you will get a notification on your band with that. This condition looks if there is any new guid in the items list of your feed – and if so, sends out the notification and shows the badge.
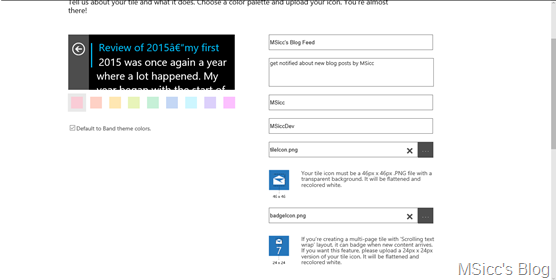
In the last step, we just need to provide some details about the web tile we have created. If you want to have all features, you must provide both images:
If you want to have control on how the image looks like, you should provide the images already flattened into a transparent and white image already. The result could look very creepy otherwise. After that, you have finally created your web tile – congratulations!
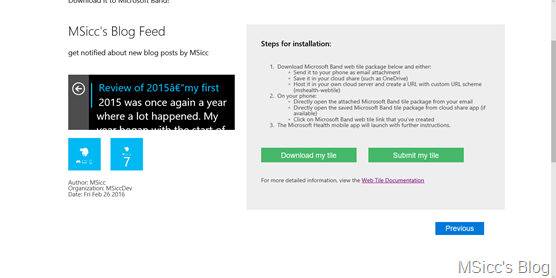
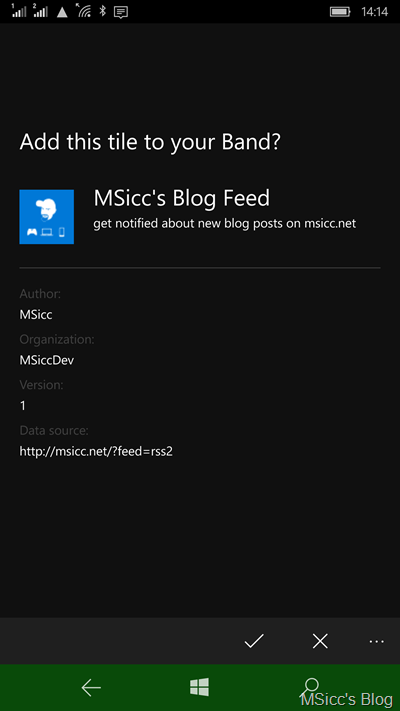
Once you have downloaded the web tile, you just need to mail it to yourself or anyone who wants to use it. The other option is to put it on your OneDrive and just share a link to your web tile. To share the link you need to add the link of your online storage to this: “mshealth-webtile://?action=download-manifest&url=”. The web tile I created for my blog is in this case: mshealth-webtile://?action=download-manifest&url=https://1drv.ms/1TDRGSC . This link only works on phones (also Android and iOS). It opens the Microsoft Health app (that needs to be installed for the usage of web tiles, anyways) and asks you to install the web tile:
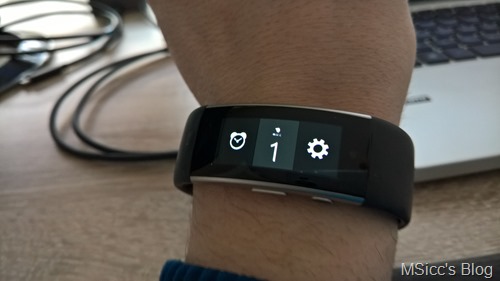
Once you have done that, your web tile is ready to go. Once you have a new entry in your RSS feed, the notification should appear on your band. If you want to force the update, just force the Microsoft Health app to sync with your band. After that, you should see the notification and also the badge count. Here is a shot of the one I did for testing:
I only began to play around with web tiles, and already was able to create a pretty good result so far. As I will explore them more and more, I will continue to blog about it. In the meantime, I hope this blog post is helpful for some of you. Have fun, everybody!

