
What the h*** is a Gist?
In case you never heard of Gist, it is an easy to use way to share code files hosted by Github. Everyone with a user account can use this feature, and now that also the premium features are free (thanks to the acquisition by Microsoft), you can even share them secretly.
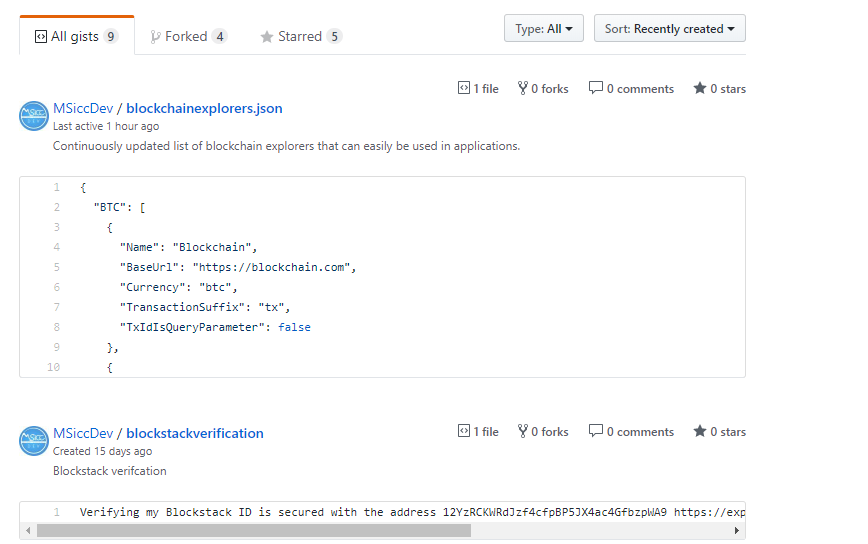
Where do I find my Gists?
This one is for the beginners. If you know this already, move on. Once you have logged into your Github account, click on your user name. This will open a menu where you can see an option called ‘Your gists’. Once you clicked that one, you will see a page similar to mine (maybe with no gists in it):
How to create a new Gist?
Well, that’s pretty easy. You just click on the ‘+’-button besides your user avatar in the top right corner:
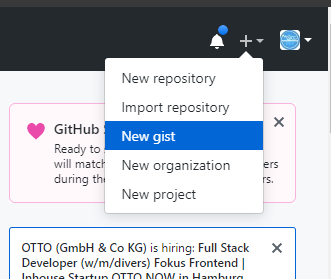
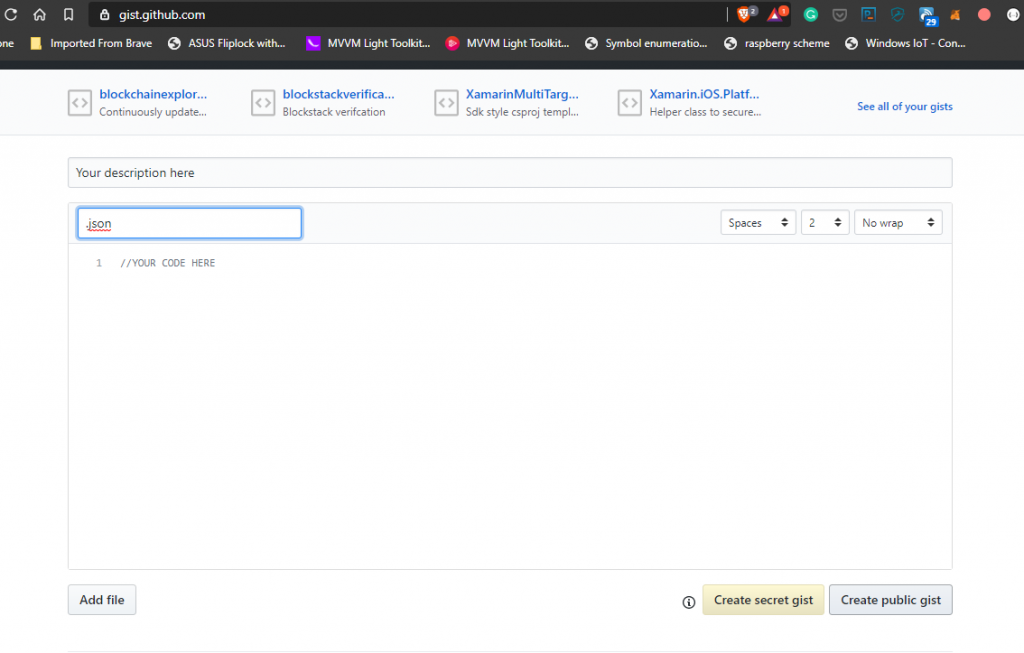
This will bring up a new gist window. Enter your description, file name and fill in the content of your file or even add more files and hit the ‘Create public gist’ button to create your new gist. If you intend to host multiple files in your gist, please note that you will need the following steps on every single file you add (as each one has its own url).
How to use this Gist in my app?
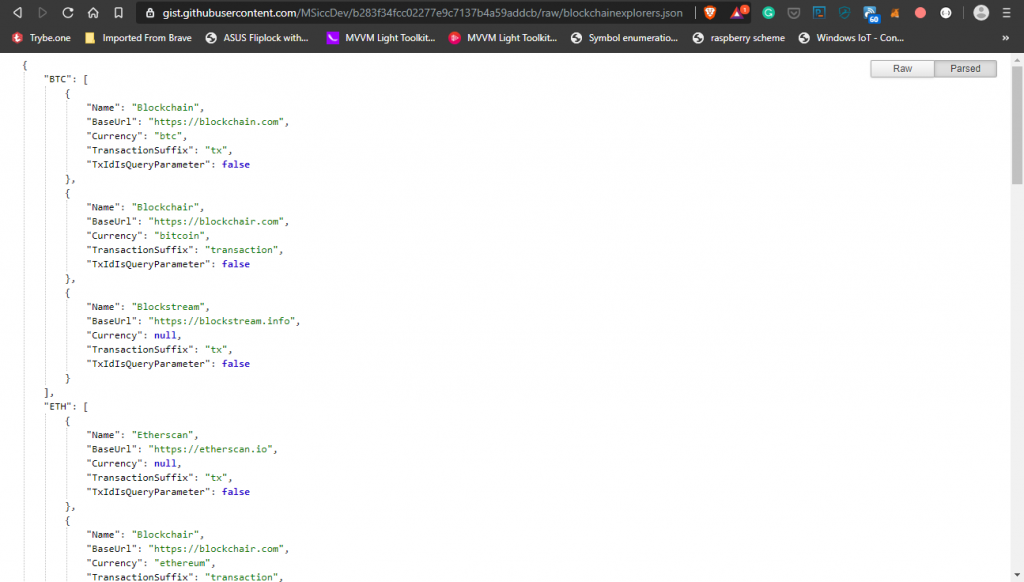
Luckily, both files in Github repos as well as in gists can be viewed in the so called ‘Raw’ view. You will find a corresponding button on every code file in the top right corner. Click on it, and you will see a plain-text representation (here is a sample from the one that led to this block post. It is styled by a browser extension that makes json more readable (every developer should already have one of this type installed, btw)):
Now we are close to be able to fetch this file into our applications. If you are sure that this file will never change, just use this file. If you know that this file is subject for future changes, you will need to perform a little trick.
Getting always the latest version of our Gist
If you analyze the url, you will notice that there is a unique id between the ‘raw’ part and the file name:

This id represents the current revision of your Gist. To make sure we always get the latest version of our gist, we need to remove this id. The url must end with ‘raw/yourfile.extensions‘, as you can see here:

This way, you can update the file and implement an update mechanism into your app that fetches always the latest revision of that file. To fetch the file content into your app, you just need to perform a GET request against that url, without the overload of using Github’s API.
Conclusion
Instead of hosting configuration or data files on a private web server, one can utilize existing infrastructure like the one of Github. Like always, I hope this post will be helpful for some of you.


This really helped me out. Thanks!