Skills Central: A Pragmatic Setup for Reusable AI Skills
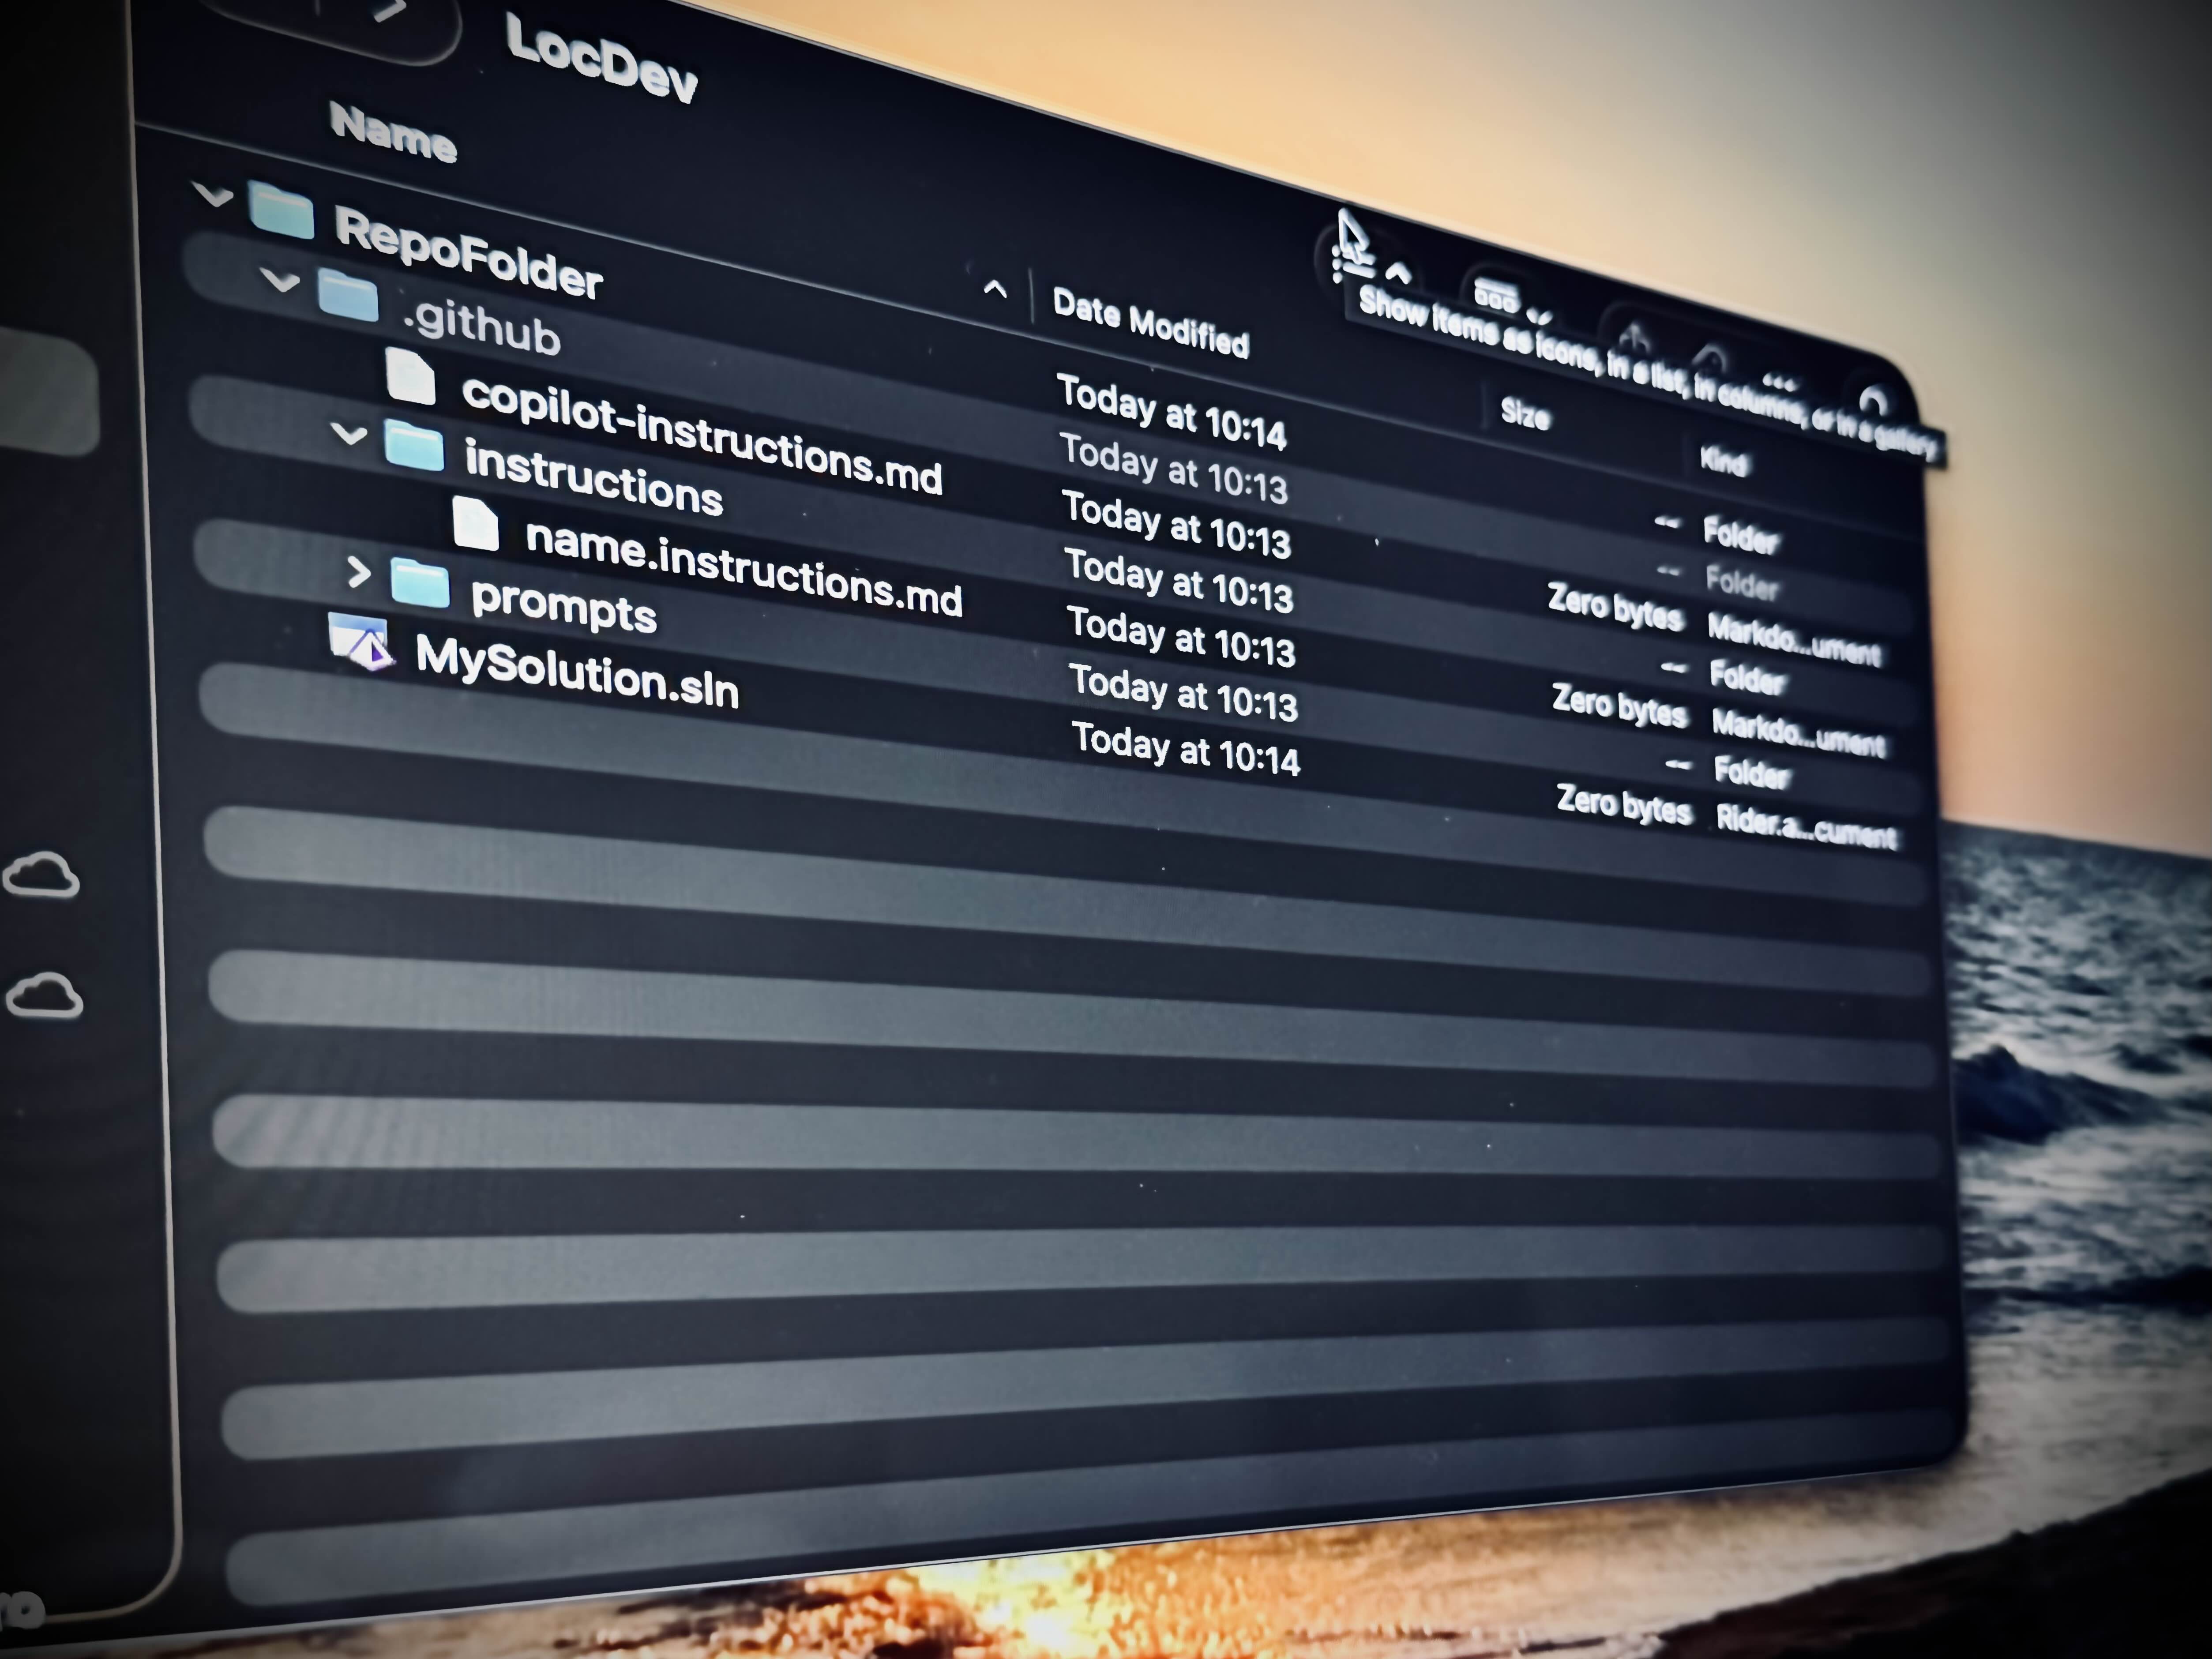
If you are following my work, you know that I try to incorporate reusable AI workflows into my projects as much as possible. I’ve been using skills for a while now and in this post, I want to share...