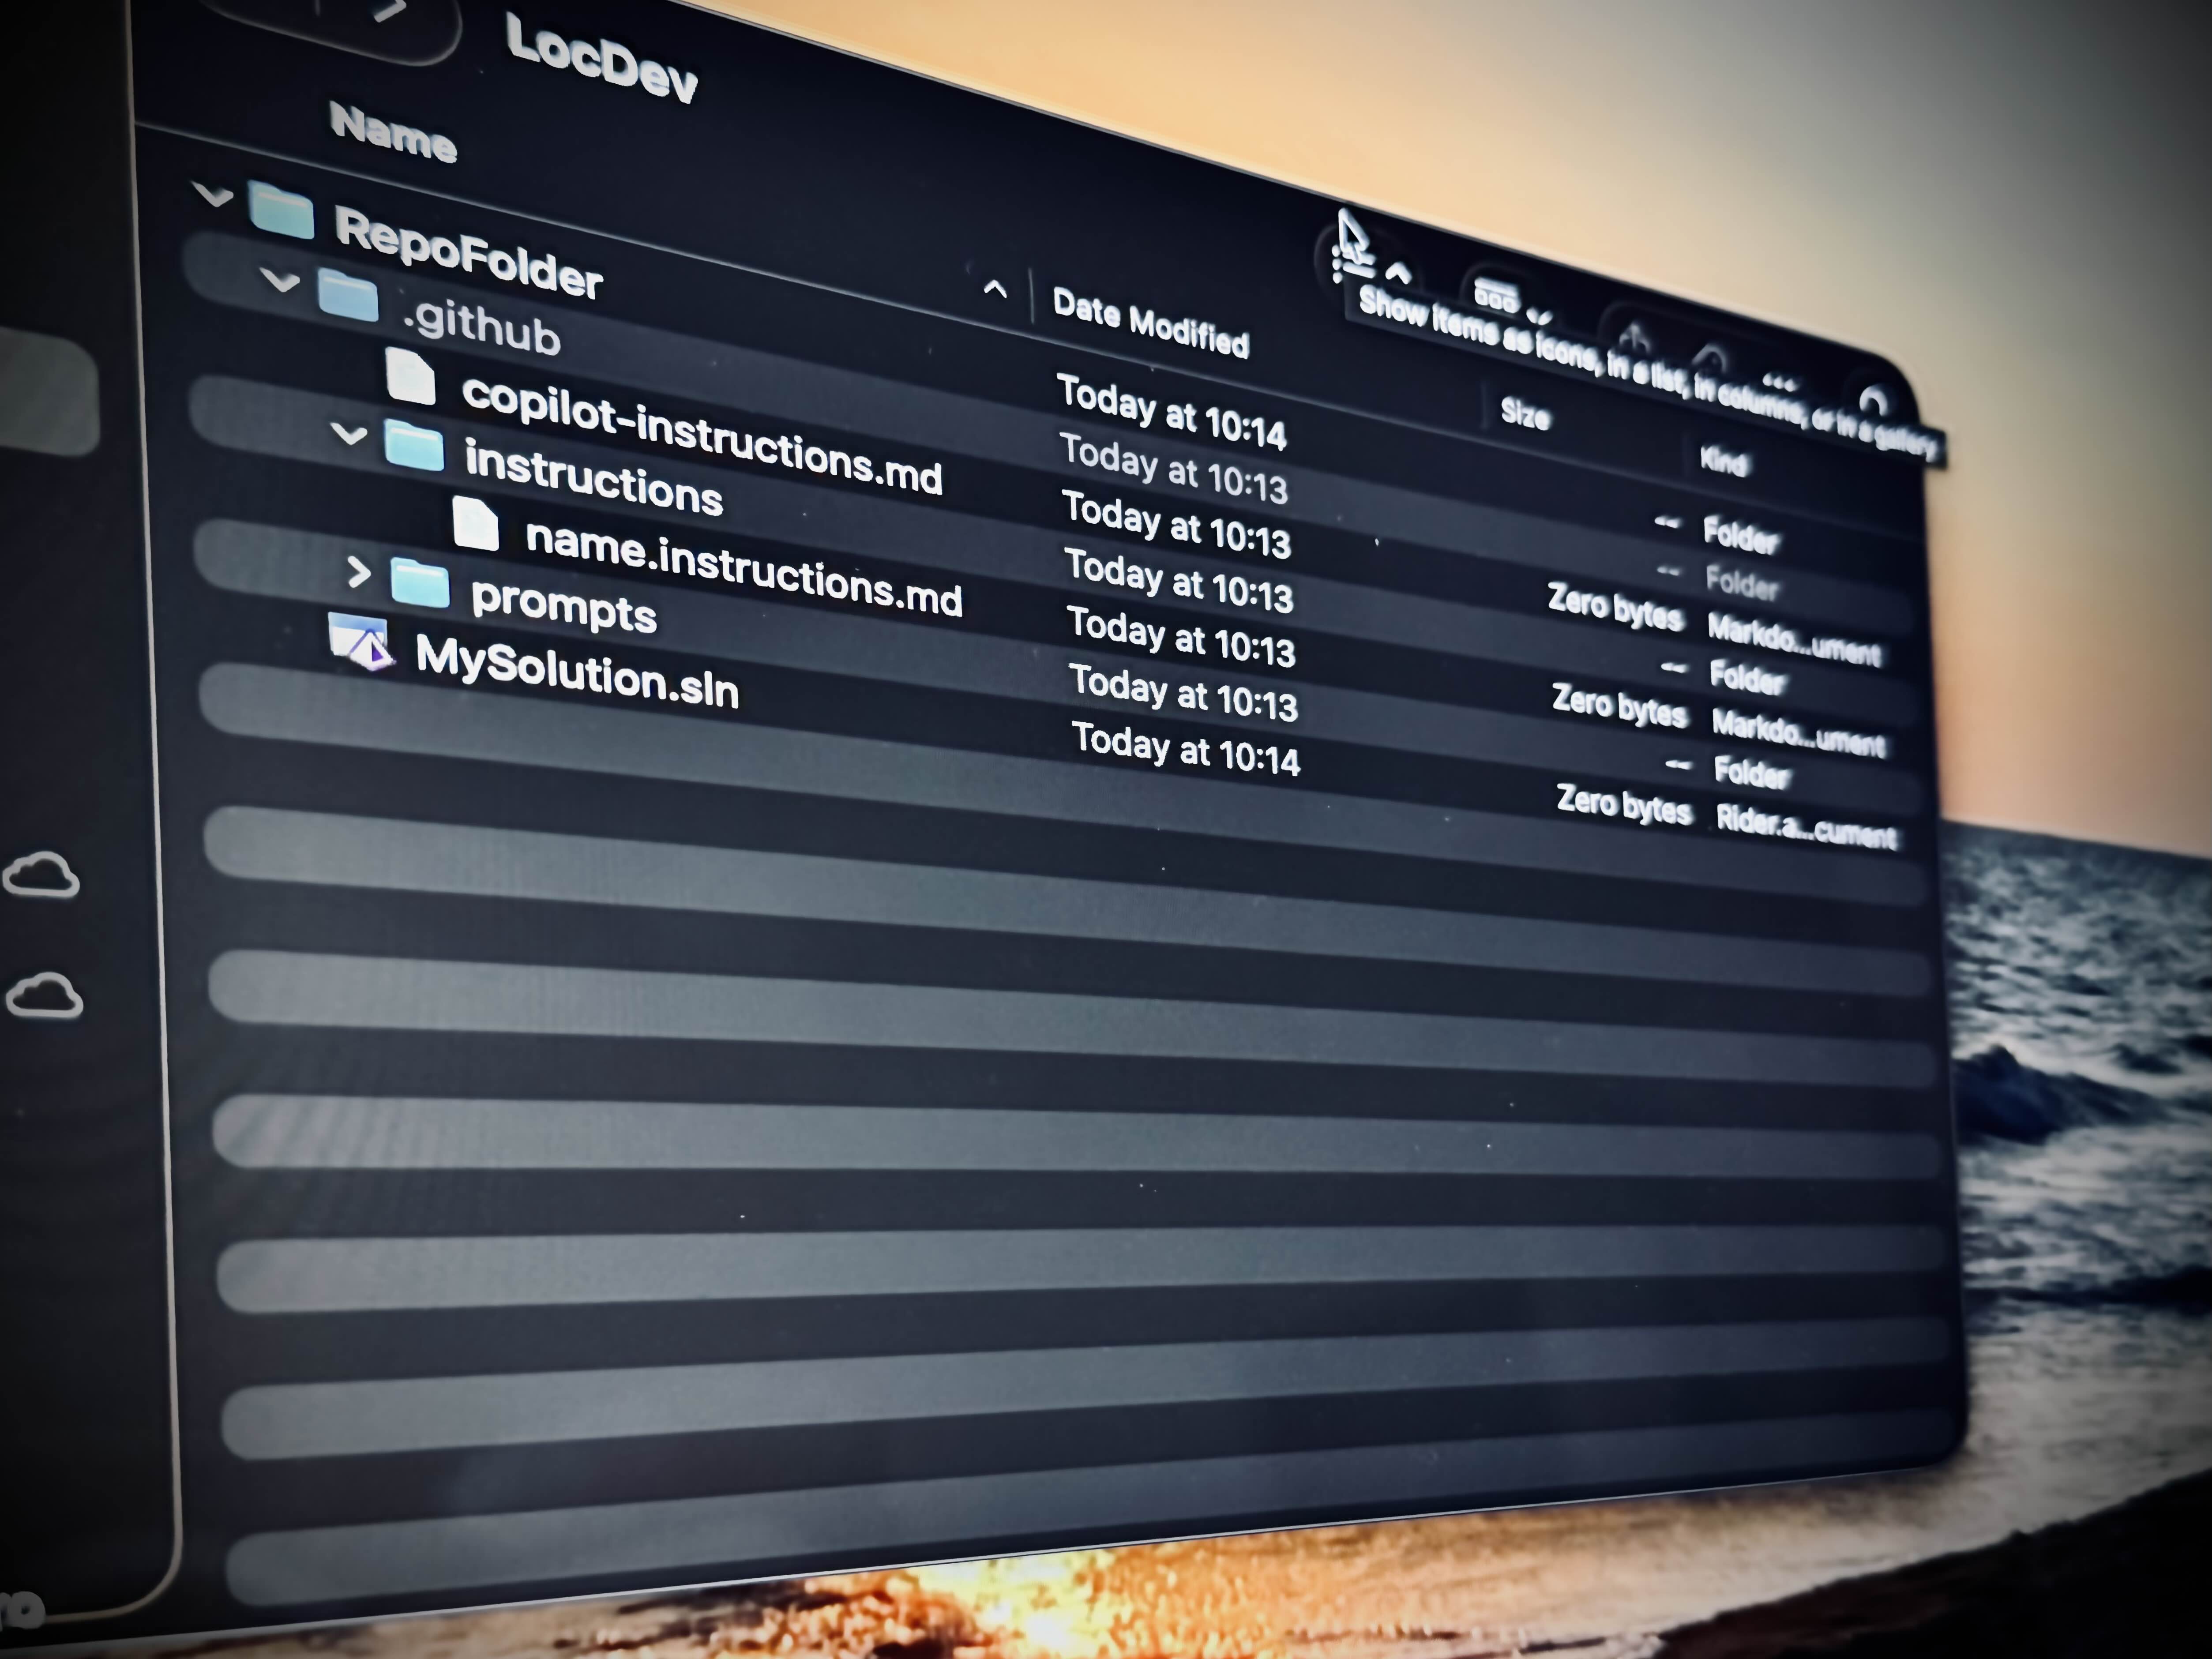
How to capture a photo in your Windows Phone 8.1 Runtime app–Part I: the preview of the photo to capture

With the recent release of the public beta of RandR, I also learned a lot about taking photos from within an Windows Phone 8.1 app. There are several differences to Windows Phone 8, so I decided to start this three part series on how to capture a photo in your app (it would be too much for one single post).

The series will contain following topics:

The series concentrates on basic features to enable you to get started. I am adding relevant links to those posts, and at the end of the series, I will also attach a sample project.

Let’s start

Before we can use MediaCapture, please make sure that you enable Webcam and Microphone in your app’s Package.appxmanifest file. Then, we need is an Element that shows us the preview of the content we want to capture. In a Runtime app, we are using a CaptureElement for this. We also need to buttons, one to start/cancel the preview operation, and one to save the photo. Of course we want to show the photo we have taken, so we need also an image element.

Add this code to your XAML page:

<Grid>
    <CaptureElement x:Name="previewElement" Stretch="UniformToFill" />
    <Image x:Name="takenImage" Stretch="UniformToFill" Visibility="Collapsed"></Image>
</Grid>
<Grid VerticalAlignment="Bottom">
    <Grid.RowDefinitions>
        <RowDefinition Height="Auto"></RowDefinition>
        <RowDefinition Height="Auto"></RowDefinition>
        <RowDefinition Height="*"></RowDefinition>
    </Grid.RowDefinitions>
<Button Grid.Row="0" x:Name="captureButton" Content="capture" Click="captureButton_Click" HorizontalAlignment="Stretch" Margin="12,0"/>
<Button Grid.Row="1" x:Name="saveButton" Content="save" Click="saveButton_Click" HorizontalAlignment="Stretch" Margin="12,0"/>
</Grid>

Asign the click handlers to the code behind file, where we will also continue to work now.

Before we’ll have a look at the preview code, we need to enable our app to obtain the whole screen. This makes all sense, as we want to capture a photo, and of course we want to see as much as possible in the preview. Add these two lines to the constructor of the page:

var appView = Windows.UI.ViewManagement.ApplicationView.GetForCurrentView();
appView.SetDesiredBoundsMode(ApplicationViewBoundsMode.UseCoreWindow);

The ApplicationViewBoundsMode enumeration has two values (UseVisible and UseCoreWindow). The later one uses the whole screen (even behind the SystemTray and also behind the BottomAppBar) and suits our needs. Only one thing to remember for your app: You need to set the Margins in this case to get your UI  right.

The preview code

Windows Runtime apps use the MediaCapture class for all photo and video capturing.

To enable your app to preview the things you want to capture, we first need to initialize the MediaCapture. We are doing this by a helper method, as we will need it in the next post to create some options for our MediaCapture. After declaring a page wide variable for the MediaCapture, add the following code to your code behind file:

       private async void InitializePreview()
       {
           captureManager = new MediaCapture();

           await captureManager.InitializeAsync();
           StartPreview();
       }

To make the initialized MediaCapture actually doing something, we also need to start the preview:

private async void StartPreview()
{

    previewElement.Source = captureManager;
    await captureManager.StartPreviewAsync();
              
    isPreviewing = true;
}

What we are doing is to set the Source of our previewElement that we declared in XAML to our captureManager and asynchronously start the preview. The isPreviewing Boolean is used to detect if we are actually previewing. We’ll need it in our method to stop the preview. This is very important. If you do not stop the preview, chances are high that you will freeze your phone or make the camera unusable for other apps, too!

To stop the preview, add this code:

private async void CleanCapture()
{
    if (captureManager != null)
    {
        if (isPreviewing == true)
        {
            await captureManager.StopPreviewAsync();
            isPreviewing = false;
        }
        previewElement.Source = null;
        captureButton.Content = "capture";
        captureManager.Dispose();
    }
}


We need to do a double check here: First, we need to see if we have a captureManager instance. Then, if we are previewing, we are going to stop it. If we are no longer previewing, we are setting the CaptureElement Source to null, rename our button and free all resources our captureManager used with the Dispose() method.

Now that we have everything for the preview in place, we are able to connect it to our captureButton:

private void captureButton_Click(object sender, RoutedEventArgs e)
{
    if (isPreviewing == false)
    {
        InitializePreview();
        captureButton.Content = "cancel";
    }
    else if (isPreviewing == true)
    {
        CleanCapture();
    }
}

Now we are already able to start previewing (without any options) on our phone:

wp_ss_20141114_0002

You might get similar  strange results if you start capturing. For example, the preview on my Lumia 1020 is flipped upside down and the front camera is used.

How we are going to change this, is topic of the second part.

Until then, happy coding!

Comments 1

Join the discussion right now!

This site uses Akismet to reduce spam. Learn how your comment data is processed.

Prev
How to generate a round image button for your Windows Phone 8.1 app (to use everywhere)

How to generate a round image button for your Windows Phone 8.1 app (to use everywhere)

Next
How to capture a photo in your Windows Phone 8.1 Runtime app-Part II: some common modifications

How to capture a photo in your Windows Phone 8.1 Runtime app-Part II: some common modifications

You May Also Like

This website uses cookies. By continuing to use this site, you accept the use of cookies.  Learn more